
Site footage · sound off
Installed by your team, guided by our engineers.
We don’t send an installation crew. We send a step-by-step installation manual — drawings, torque values, checklists — and put our engineers on a video call whenever your team wants a second pair of eyes. The footage here shows a real installation carried out exactly that way.
Three stages, one manual, no guesswork.
Most clients hand the work to their own maintenance team or a local contractor — the manual runs the job. Each stage ends at a checkpoint where our engineer joins by video call before you move on.
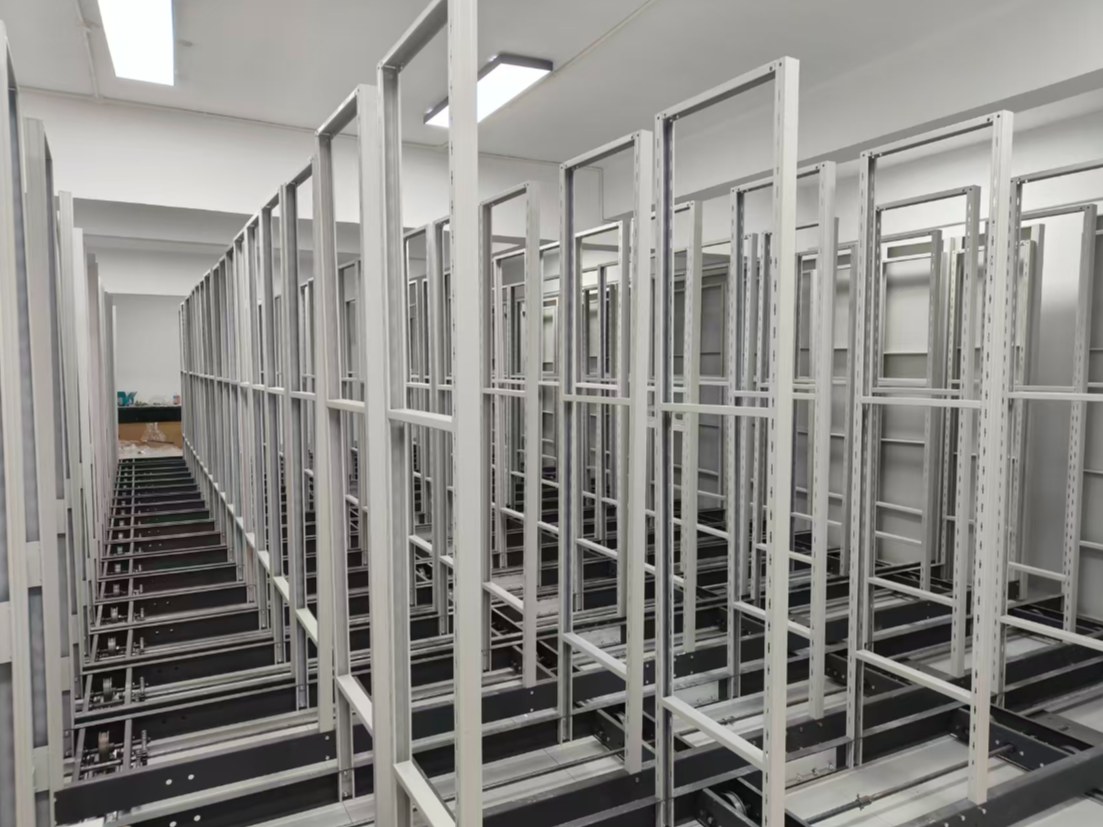
Rails first
The floor rail is the only part of the system that touches your building, so it goes in first and it goes in level.
- Layout chalked directly from the approved drawing
- 3-metre rail sections joined and anchor-bolted
- Level checked along the full run — tolerance ±2 mm
- Checkpoint video call: level read-out on camera
Carriages roll in
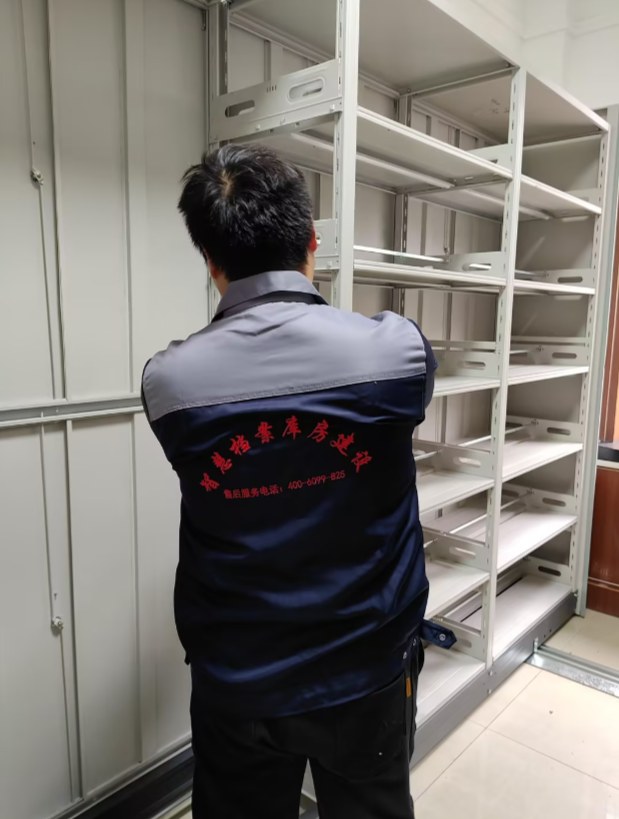
Carriages arrive pre-assembled and numbered to match the drawing, so position on site is mechanical, not judgement.
- Two people place roughly ten carriages per day
- Drive units and crank shafts fitted and tensioned
- Electric runs wired to the power point agreed in planning
- Checkpoint video call: drive alignment and anti-tip interlocks
Shelves, panels, handover
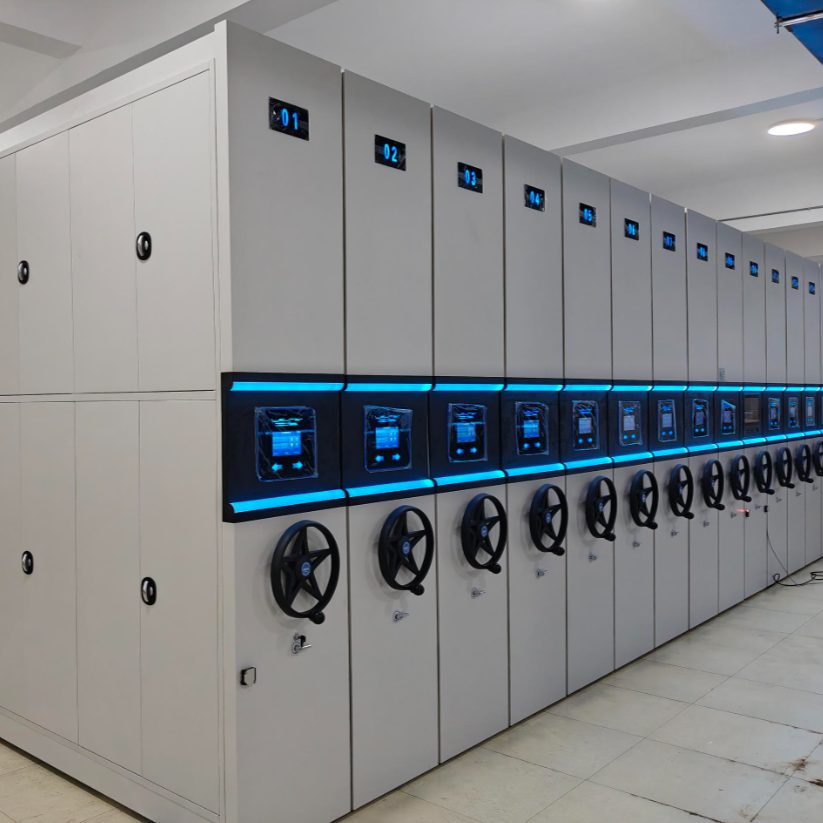
The visible half of the system goes in fast because everything under it is already true.
- Shelf pitch set to your storage plan, not to a default
- End panels, label holders and numbering fitted
- Every run opened, closed and lock-checked with you
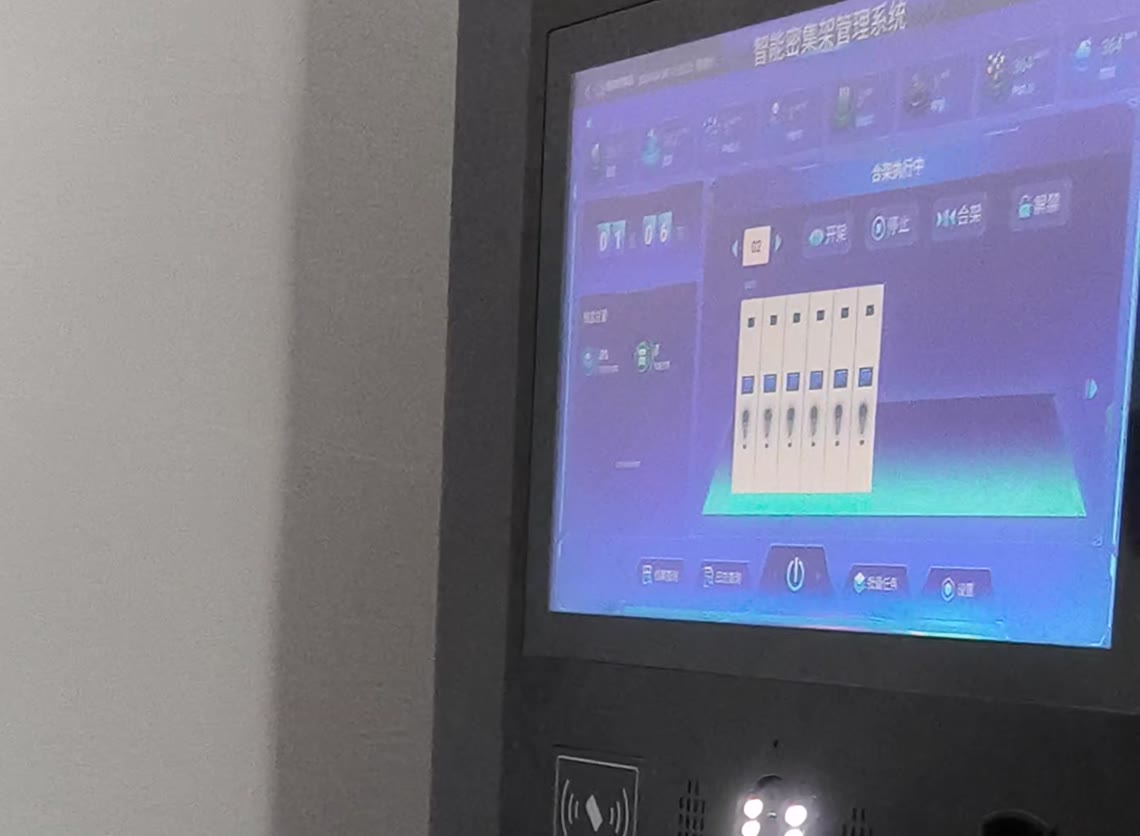
- Smart and electric runs function-checked on the terminal
- Closing video call: walk the finished room on camera
Two minutes of the real thing.
Recorded during a client installation that ran on our manual and video-call support — terminal function checks at handover, then shelves and panels going in. Sound off; the site is quieter than you expect.
Terminal function checks, end to end
RFID inventory, file lookup and status screens run on the terminal during the final walk-through — every function proved with your team watching.
Shelves and panels going in
Once the runs are true, shelving bays fill in quickly — pitch set to your box sizes, panels closing each run face.
The room needs four things. That’s all.
We send this checklist with the drawings. If all four are ready on day one, your team keeps the schedule.
A clear, cured floor
The room empty of furniture and the floor finish fully cured — new screed needs 28 days before rail anchoring.
Power within the room
A 220 V outlet for electric and smart runs — the exact position is confirmed during planning so no trailing cables remain.
A path from truck to room
Elevator or corridor wide enough for 3-metre rail sections and carriage crates; the route is surveyed during planning.
Agreed working hours
Noisy work (rail anchoring) happens on days 1–2; plan quiet hours with neighbouring offices or reading rooms.
You finish the room. We sign it off on camera.
The final walk-through happens on a video call: bay numbering, shelf pitch, lock operation and aisle clearance are checked against the drawing together with our engineer, and any adjustment is made before the call ends.
Because your team did the installation, you know every bolt in the room — future moves, shelf re-pitching and relocations become jobs you can plan without waiting for a crew.
Handover pack: acceptance checklist countersigned after the video inspection, the as-built drawing, and the commissioning schedule for electric and smart systems.
 Ready for collections